

In this blog post, we provide you with a series of recipes and hair beauty routines that will keep your hair beautiful and healthy-looking, regardless of whether it is short, long, oily, curly or straight. We hope you like it and give us a like! 😊
EASY HOMEMADE DRY SHAMPOO
Has your hair been greasy in the morning and you need a quick fix? Do you want a more natural alternative to commercial dry shampoo?
The use of dry shampoo sprays has become increasingly popular in recent times as an alternative to frequent washing. This is because it is becoming increasingly obvious to all consumers that frequent hair washing ends up making it greasy or dry. In any case, it damages it in one way or another, depending on our constitution.
That is why in this blog post we want to give you the recipe for the dry shampoo that we use, which can be easily prepared with three simple ingredients:
-A base of talcum powder, which is what really does the job of absorbing grease without leaving the hair sticky.
–Anti-grease silica powder, which helps to leave our hair loose and degreased. Silica is also a mineral that naturally repairs the keratin in our hair fibres.
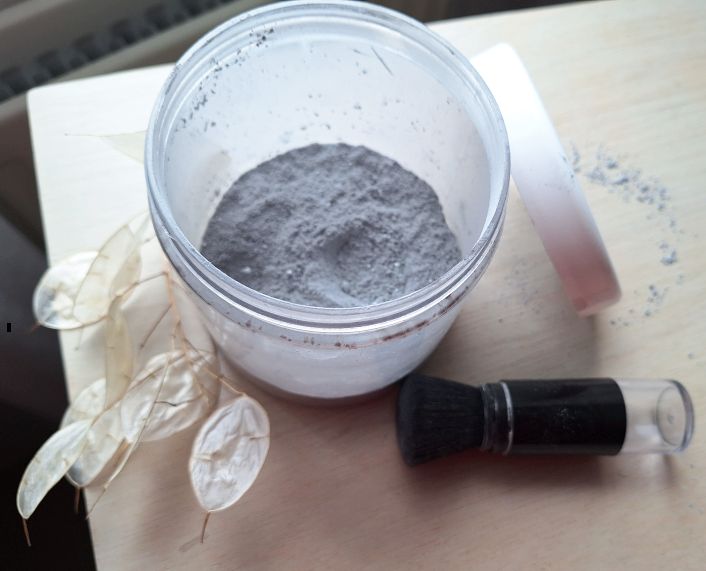
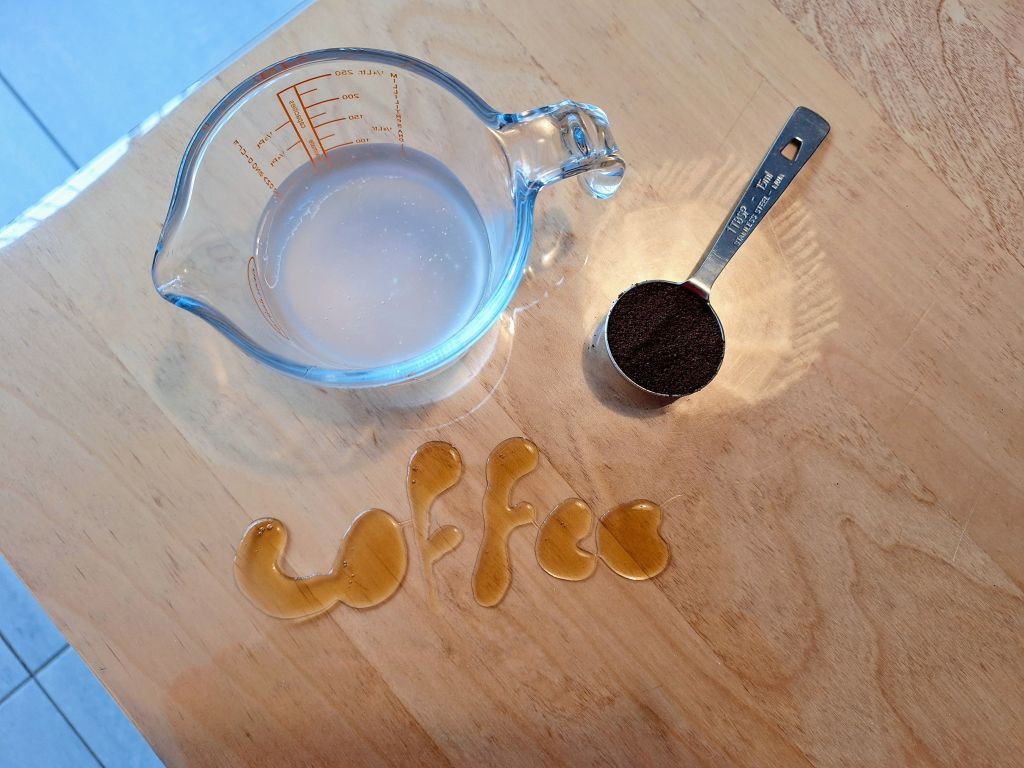
–We will also add 1/2 teaspoon of activated charcoal for colour. Or just a tablespoon of coffee powder if we have light-coloured hair roots.
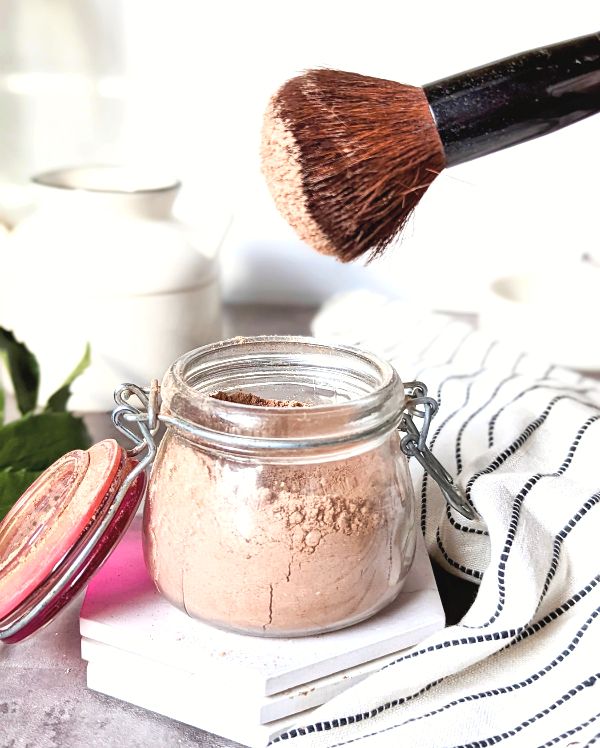
OUR EASY RECIPE FOR DRY SHAMPOO FOR HAIR
As we said before, we only use three ingredients: a base of commercial talcum powder, a percentage of silica powder (fluffy silica, about half the amount of talcum powder used) to act as an anti-caking agent, and activated charcoal or coffee powder to add colour.
We usually add half a teaspoon of activated charcoal to give the mixture colour and prevent it from leaving our hair white when applied, or a tablespoon of natural coffee powder if we have light-coloured roots.
AN EXPLANATION OF THE INGREDIENTS USED
As we said, we use a talcum powder base to make our homemade dry shampoo. Commercial talcum powder is usually made from ground talc. Talc is a naturally occurring substance that absorbs moisture, reduces friction and has a cooling effect.
TALC POWDER: Talc powder comes from the mineral talc, also known as steatite. Talc, a magnesium silicate containing hydrogen, is extracted from the earth’s crust and, once pulverised, is able to absorb moisture and reduce friction. In this way, it keeps the body dry and prevents skin rashes.
Cosmetic talc is sometimes negatively labelled due to confusion about the difference between talc and asbestos. It is true that both are hydrated magnesium silicates, but diamonds and barbecue charcoal briquettes are made of carbon, and no one would say they are the same thing.
A very important difference between talc and asbestos is their crystalline structure. While talc is made up of small flat sheets, asbestos is formed as fine fibres. It is the specific fibrous structure of asbestos that contributes to its potentially harmful effects. Talc particles do not share this characteristic.
What does commercial talcum powder contain?
In addition to talc, manufacturers often add oils, zinc oxide or petroleum jelly. Oils, zinc oxide and petroleum jelly soften the skin. And, as we know, most things that are good for the skin are also good for the hair or, in any case, for the scalp.
Is talcum powder safe?
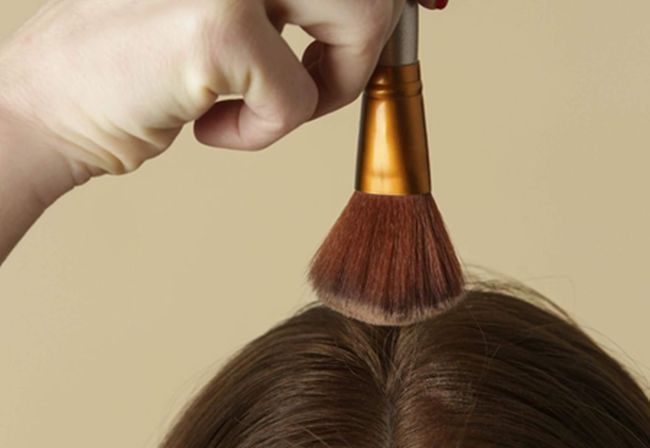
Talcum powder is safe as long as it is sprinkled on the skin and not inhaled. Therefore, our only precaution is to apply it to the scalp with a make-up brush. A little goes a long way, and avoid inhaling it.
It is also advisable to avoid sprinkling talcum powder on open wounds or severely damaged skin, as it might penetrate the body through the skin.
SILICA: Silica strengthens the hair and prevents hair loss. It contributes to the production of keratin, which is very important for hair health and for preventing hair loss. Thus, combined with coffee powder, it has a synergistic effect that enhances and prevents hair loss.
Silica also helps absorb oil from the hair without weighing it down and adds volume. So it’s not a bad alternative to coffee powder, although it’s also possible to use both. In fact, as we mentioned in the previous paragraph, they have a synergistic effect.
Coffee makes your hair shinier. Silica gives it more volume. Combined, they enhance each other’s effects.
If your hair is oily and also straight and lacking in body, silica is the best alternative. It can be found at a good price in spice and culinary preparation shops as an anti-caking agent under the name E-551 or SAS (Synthetisch Amorf Silica).
This type of silica is found in various foods, such as coffee creams and soups, sauces and spice mixes, and is composed of silica nanoparticles. This gives it a very fluffy and light consistency that is perfect for our dry shampoo as it absorbs grease without leaving any residue in our hair. On the other hand, it does add a lot of volume and prevents hair loss, making it an ideal silica for this type of cosmetic product.
WHY THESE INGREDIENTS AND NOT OTHERS?
We have found many blogs online that promote various ingredients for making homemade dry shampoos, such as tapioca flour, cornflour, baking soda, etc.
We have tried them and they are not a good idea. In general, they do not do the job. Bear in mind that they are food flours, so they cannot really absorb the oil from the hair and leave it loose at the same time.
In the case of bicarbonate of soda, in particular, we have found that it is a better degreaser, but it leaves the hair looking frizzy and damaged.
We have also seen that cocoa powder, another food product, is used to colour it brown. This is not a good idea either, because cocoa does not absorb grease, but rather tends to promote the opposite.
Cocoa* is a very good idea in face creams, to add colour and promote skin hydration. Especially when formulated with sun protection factors, such as zinc oxide, which would otherwise leave a white film on the skin.
*Cocoa, especially in the form of butter or extract, offers several benefits for the skin. Its antioxidant properties help protect the skin against damage from free radicals, which are responsible for premature ageing, and improve elasticity and firmness. In addition, cocoa deeply moisturises, soothes irritated skin, reduces redness and can improve the appearance of superficial blemishes.
Activated charcoal, on the other hand, works synergistically with talc and silica to absorb hair oil and leave hair loose and tangle-free.
We hope you find our recipe as interesting and effective as we do. There is no need to use commercial sprays, which dry out the hair and damage it in the long run. Especially if you have dyed hair, you will really notice the difference!
At this link, you can read all about what I was talking about and what you should not use in your homemade shampoo if you do not want to make your hair greasier.
ALTERNATIVE RECIPE FOR THOSE WHO HAVE DIFFICULT ACCESS TO TALC
There are countries where talcum powder is frowned upon and difficult to find. In this case, we suggest replacing it with calcium carbonate. However, talcum powder is undoubtedly the best option.
What is calcium carbonate?
Calcium carbonate is a natural calcium salt. It is found in 4% of the Earth’s crust in the form of limestone, marble and chalk.
It is a white, odourless substance (CaCO3) found in various forms in nature, such as limestone, marble and chalk. Traditional chalk is simply a variety of calcium carbonate with specific properties that make it suitable for writing on blackboards and other similar surfaces.
The biocompatibility of this natural mineral substance makes it suitable for various cosmetic uses. It is used, for example, as a base for make-up and also as a base for toothpaste.
In dry shampoo, the interesting thing about calcium carbonate is that it has a very alkaline pH that lifts the keratin scales of the hair, making it feel cleaner and adding volume, as well as absorbing oil.

OTHER POSSIBILITIES:
A bentonite clay base: Calcium bentonite clay is a natural absorbent clay composed mainly of hydrated aluminium silicate. It is formed when volcanic ash ages and is known for its ability to absorb toxins, making it a popular ingredient in detoxifying and skincare products.

A magnesium carbonate base: Hydrated magnesium carbonate (MgCO3·H2O) is found in nature as a mineral and is used in various applications, such as: acidity regulator, anti-caking agent, absorbent agent, opacifier, and to adjust the pH in personal care products.
It is a white, slightly alkaline powder that is generally insoluble in water, although it dissolves in the presence of acids. Magnesium is an essential mineral for the human body, and magnesium carbonate is a source of this mineral, with benefits such as relieving heartburn and regulating intestinal transit.
In cosmetics, it is found in products such as antacids, nutritional supplements, talcum powder, deodorants and other personal care products.

The above recipe for dry shampoo based on talcum powder and silica is very practical and easy to prepare because we only need to mix a couple of ingredients and add 1/2 teaspoon of activated charcoal to give it colour. Or just a tablespoon of coffee powder if we have light roots.
However, for those who prefer something more elaborate, we have a recipe for salt shampoo paste which, although not a dry shampoo, is a treatment shampoo paste that will save us from having to use other tricks as it keeps hair conditioned and with natural volume.
It is another way to break the wash-grease cycle.
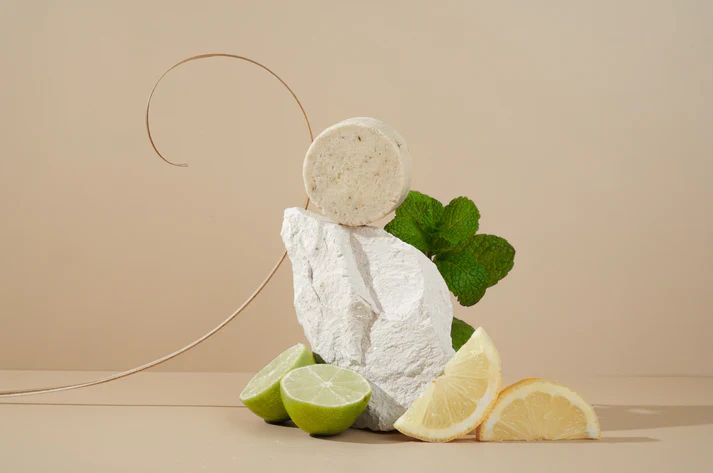
SEA SALT PASTE SHAMPOO with a “beach waves” effect
Ingredients:
Preparation
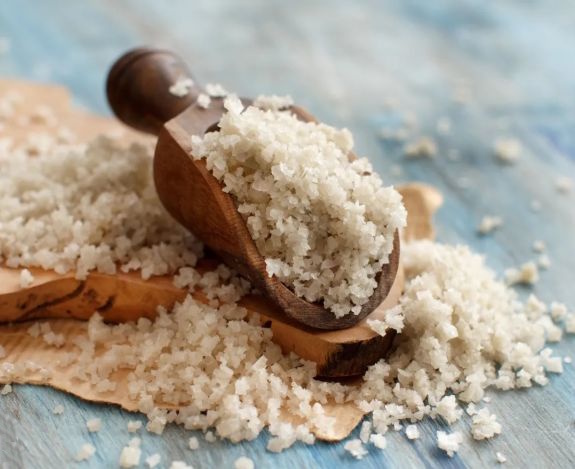
50 g Celtic sea salt*
15 g warm distilled water
Phase 2
5 g SCI Sodium Cocoyl Isethionate surfactant
7.5 g Sodium coco-sulfate SCS surfactant
5 g of coco glucoside surfactant
7.5 g glycerine
3.5 g of Tahitian Monoï oil or scented coconut oil
3.5 g castor oil
Thermolabile phase:
0.5 g lemon essential oil
STEP-BY-STEP PREPARATION OF SEA SALT SHAMPOO WITH “Beachwaves” EFFECT
First, weigh the Celtic salt* and set it aside.
In another bowl, weigh out 15 g of warm distilled water.
Add the powdered surfactants to this bowl of hot distilled water: 7.5 grams of SCS and 5 grams of SCI. Mix well and leave to hydrate, as this will not form a solution as such, but rather a paste.
In the other bowl containing the salt, add the liquid surfactant (5 g) of Coco Glucoside and 7.5 g of Vegetable Glycerine together with the Monoï and Castor oils.
Add the paste formed with the powdered surfactants and water to the bowl with the salt paste and oil and stir well to obtain a homogeneous mixture.
Finally, add 0.5 g of Lemon Essential Oil.
Mix well again to combine all the ingredients and pour into a small glass jar so that you can easily take out a little salt paste at a time to wash your hair.
*The term “Celtic salt” refers to unrefined sea salt, traditionally harvested by hand in the salt marshes on the coast of Brittany, France. Its name comes from the Atlantic waters where it is produced, which were formerly under the rule of the Celtic peoples. It is characterised by its grey colour, moist texture and salty taste with mineral notes. This salt is much richer than ordinary sea salt because its artisanal processing preserves a wealth of minerals, hence its greyish appearance.
Key ingredients in Homemade Sea Salt Shampoo
SCI + SCS + Coco Glucoside: a combination of three natural surfactants that guarantee gentle cleansing.
Sea Salt: sea salt not only acts as an exfoliant, but also softens the cleansing power of the surfactants, making the mixture gentler to use.
Monoi and Castor Vegetable Oils: these oils in the formula help to soften and add shine to the hair, complementing the volumising and exfoliating effects of the salt.
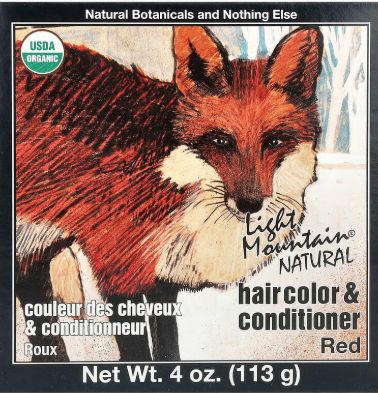
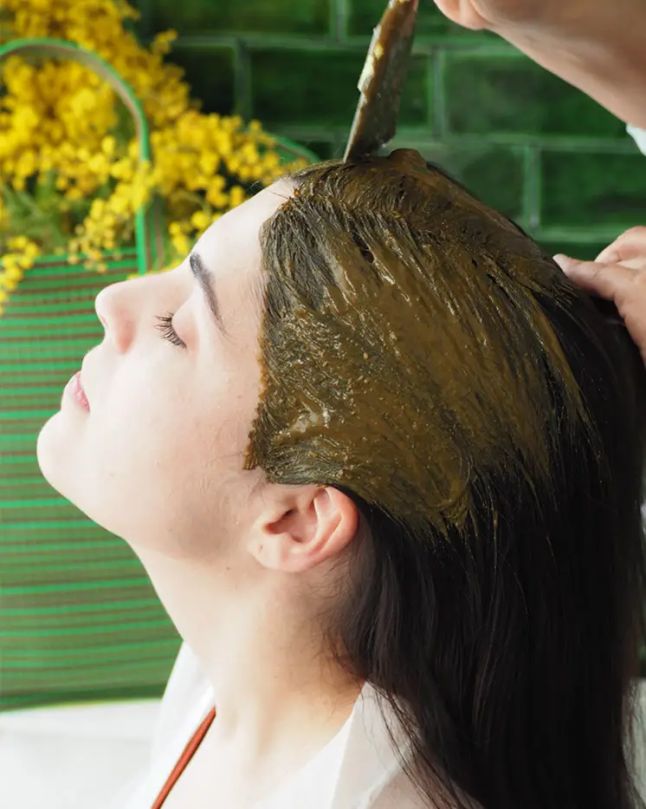
DYEING WITH HENNA
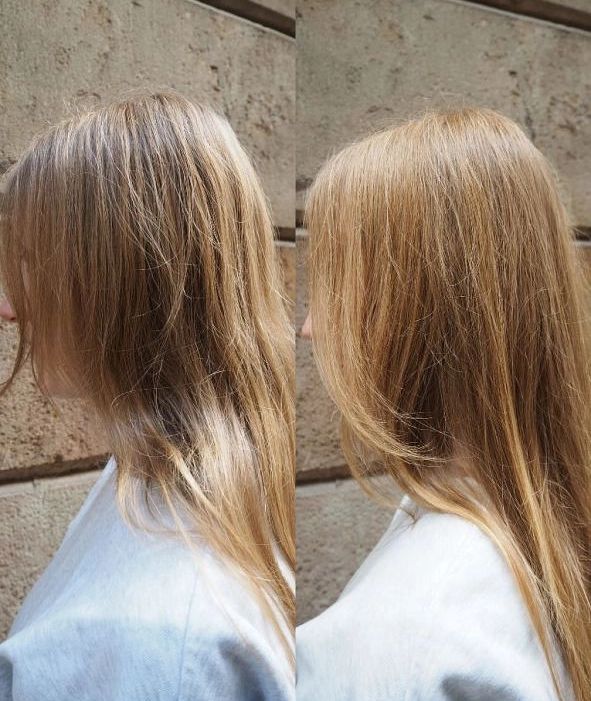
And the most important thing for maintaining healthy hair, especially if your hair tends to be oily and lifeless/lacking in volume, is to dye your hair with henna.
Henna gently dries the hair, giving it strength and volume, thus breaking the frequent cycle of washing and greasing.
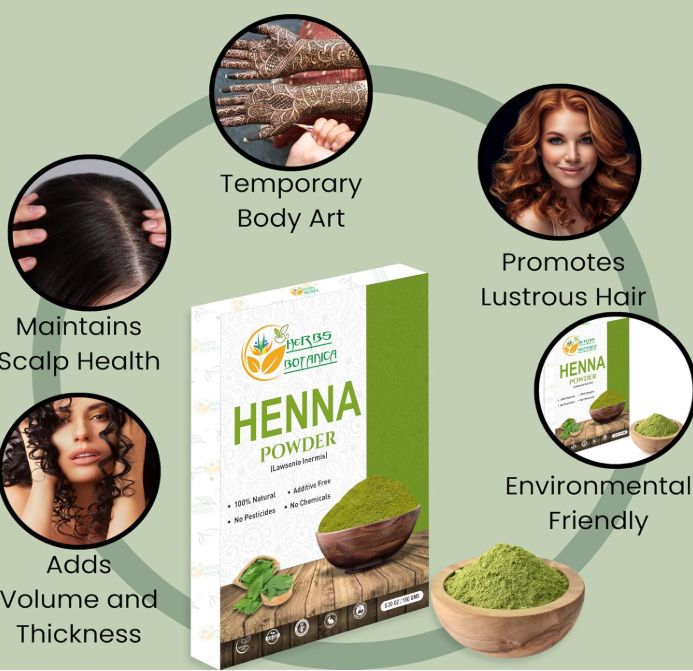
Properties of henna: Henna has properties that condition, dye and strengthen the hair, while maintaining the health of the scalp. It improves shine and texture by sealing the hair cuticle and provides a natural, long-lasting colour. The antifungal and antibacterial properties of henna help reduce dandruff and itching and promote scalp health by balancing sebum production and stimulating blood circulation.

HENNA STRENGTHENS THE HAIR AND GIVES IT VOLUME
And if you don’t like reddish tones, there are now many black henna alternatives available for purchase. These alternatives usually mix henna with another plant known as indigo, which tones down the reddish tones, resulting in a more brownish and natural colour.
HOW TO PREPARE THE HENNA PASTE
The dye can also be released by using warm or hot water (preferably around 70 °C). This will break down the lawsone and release more dye. Leaving the henna to oxidise in a warm place in an airtight bowl overnight will also give it a more intense colour. This is equivalent to leaving the henna on the hair for 9-10 hours.
Traditionally, in Pakistan and India, the henna mixture for hair consists solely of henna, water and tea; nothing else. A simple recipe with amazing effects!

However, and this is our personal recommendation, much more pigment is released if, in addition to leaving it to rest overnight in hot tea, you add the juice of 1 lemon. This method of preparation releases even more pigment, making the hair fibre dyeing process faster and covering grey hairs better. The same recommendations appear in this blog:
https://compartirmissecretos.blogspot.com/p/henna.html
Henna powder must be mixed with an acidic component for the colour to come out well. Use 1 lemon or 2 limes for every 50 grams of henna. Henna powder is green, and when mixed with acidic juice, it will turn dark brown. After adding the acidic juice, gradually mix the henna with water until it has the consistency of very thick yoghurt. Then, let it rest for several hours covered with a piece of cling film. Some people prepare the mixture before going to bed and let it rest overnight. This is an excellent method, as it allows all the colour molecules in the henna to be released.
Therefore, wait a few hours before applying the henna mixture.
Now it’s time to apply. At this point, we check our paste and, as it will probably be thick, we add a little very hot water (90 degrees). We continue until we achieve the texture of yoghurt or mashed potatoes. We then apply it as we would with normal dye, taking care not to stain everything because this paste is like a kind of mud. Personally, I always put on a plastic cape so as not to stain my clothes.
With vegetable dye, as it does not contain any added chemicals, it is necessary to leave the paste on the hair for at least 1 hour (2 hours is probably better), covered with a plastic cap to keep the head warm and optimise the fixing process.
Remember that you are at home, so it is not wasted time, but time that you can use to do other things. And, above all, what makes us feel good is thinking that, as well as dyeing our grey hairs, we are conditioning our hair and giving it life. This is something that never happens with chemical dyes.
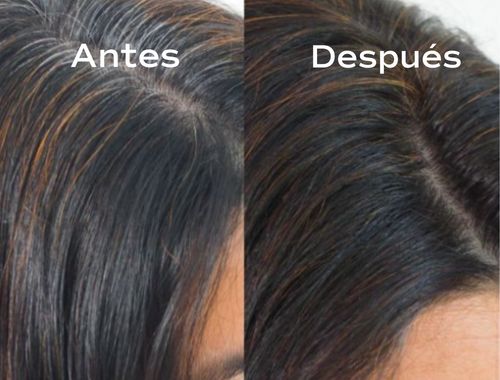
HENNA DOES NOT PRODUCE A ROOT EFFECT
This is because the henna dyeing process is completely different from chemical colouring.
Chemical dyes penetrate the hair fibre, drying it out and thinning it over time. This results in split ends or damaged, dry and brittle hair, forcing us to use lots of hair conditioners.
Henna, however, does not penetrate but gradually coats the hair cuticle. This is why it does not cover grey hair after the first colouring, but we will have to do several or the “TWO-STEP COLOURING PROCESS” with indigo.
2-STEP COLOURING PROCESS TO COVER GREY HAIR
🌿 1. Apply pure henna (first step):
• Prepare the henna according to the instructions (it should be macerated for 6 to 12 hours with the juice of 1 lemon).
• Apply the paste to all of your hair.
• Leave on for at least 2 hours. If you have grey hair, it is best to leave it on for 2 to 3 hours.
• Rinse with warm water only and, if necessary, a little conditioner.
• Dry your hair completely before continuing with the second step.
Your grey hairs will have been coloured copper, which is why the second step is necessary.
🌿 2. Apply Indigo (second step):
• Prepare the indigo just before use, using only hot water.
• Do not macerate or mix with other ingredients.
• Apply the paste to your entire head of hair.
• Leave on for 2 hours, depending on the amount of grey hair.
• Rinse with warm water only (you can use conditioner if necessary).
Now you will see that your grey hairs are completely concealed, with a dark brown tone. However, with these vegetable dyes there is no “root effect”, so the colour always looks very natural and you can dye your hair whenever you want because there is no visible difference.
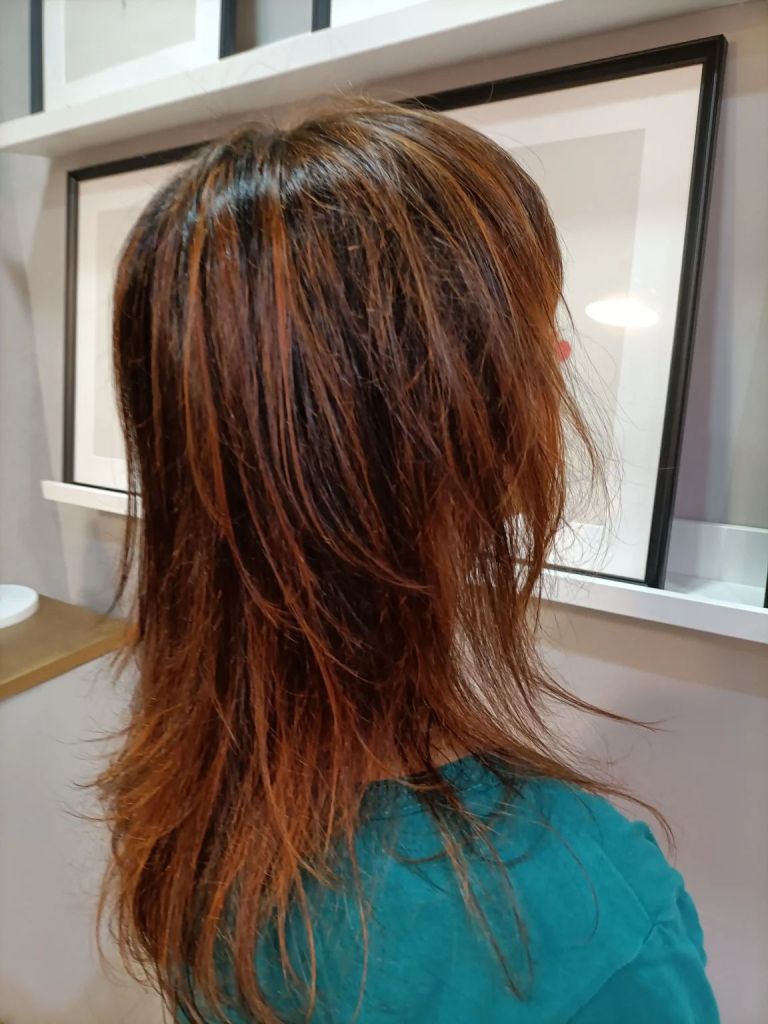
If you’re not worried about your grey hairs being slightly noticeable, because henna only conceals them and gives your hair a more uniform tone, then you’re sure to enjoy dyeing your hair with henna to take care of your locks. Henna gives your hair a natural, more vibrant and voluminous appearance. And as we said, since henna does not produce a “root effect“, it does not produce the “split ends” effect either.
However, if you have light hair and want to cover up your grey hairs, we recommend using cassia or a mixture of henna and cassia macerated with lemon juice. Mixing cassia with henna will give your colour a golden “peach” tone. Some people also add indigo, but we personally find this a waste of product, given that henna and cassia are macerated in acid to extract the pigment. On the other hand, maceration in acid renders the indigo pigment useless, meaning it adds nothing to the mixture. This is the same reason why covering grey hair on dark heads requires a two-step colouring process. The henna is first macerated in acid, and then the indigo pigment is added, to which only hot water is added.
Cassia on grey hair acts as a neutral treatment or conditioner that deposits a natural golden tint, enhancing shine and adding volume. While pure cassia provides a gentle, moisturising conditioner without darkening the hair, a paste soaked in an acidic liquid, such as lemon juice, can produce golden highlights in blonde or grey strands. Adding amla, which is acidic, or chamomile also helps to enhance golden tones.
A CASSIA AND CHAMOMILE RECIPE FOR LIGHT HAIR
Ingredients:
Wooden or glass mixing bowl
Wooden spoon for mixing
Vinyl gloves
Plastic shower cap
100 grams of blonde henna powder Cassia obovata
50 g of chamomile tea essential for achieving blonde highlights
1 tablespoon of lemon juice
Optional: 1 tablespoon of Amla powder
1 tablespoon of organic honey
Instructions:
Boil the water and add the chamomile tea. Make a decoction, boil it for 5-10 minutes and leave it to stand overnight for best results.
Separately, macerate the cassia in another non-metallic bowl together with the juice of 1 lemon and, if desired, the amla and teaspoon of honey. Cover the mixture with cling film and leave to stand overnight.
In the morning, add the infused and heated chamomile, spoonful by spoonful, to the mixture, taking care not to make it too runny. Keep in mind that to make it easier to apply, you will need to maintain the consistency of thick yoghurt.
Wearing vinyl gloves, apply the henna to clean, dry hair.
Put on a plastic shower cap and leave the henna mixture on your hair for 2 hours.
After 2 hours, remove the henna in the shower with warm water until it disappears completely. It is best not to wash your hair for 24 to 48 hours so that the colour sets. However, if you cannot avoid washing your hair, use the coffee shampoo indicated below.
AND, AFTER APPLYING THE HENNA, WE USE COFFEE SHAMPOO
We have heard that it has become popular on social media to use a special henna shampoo after applying henna dye to reinforce the colour. This is not necessary at all if you have dyed your hair properly as described in the previous steps.
And gentlemen, if you are reading this, you should know that caffeine’s anti-hair loss effect is not only effective for women; current studies have shown that it has the same effect on male pattern baldness as it does on female pattern baldness. Some studies suggest that it prevents male baldness as effectively as minoxidil.
https://pubmed.ncbi.nlm.nih.gov/38764299
A summary: “Caffeine shows promise in preventing and treating hair loss, as it stimulates the metabolism and proliferation of hair follicle cells through interaction with the adenosine pathway and acts as an antioxidant. Although studies suggest that caffeine is safe and potentially effective for hair loss, particularly against androgenetic alopecia (AGA), larger and better-designed clinical trials are needed to confirm its efficacy, as current evidence is often limited by methodological shortcomings. Caffeine readily accumulates in hair follicles, making topical applications a promising route of administration“.
The simple act of adding a teaspoon of coffee powder to our shampoo can go a long way towards improving our hair health. And while studies are lacking to definitively confirm this in men, it has been more than proven in women:
https://pubmed.ncbi.nlm.nih.gov/29512972
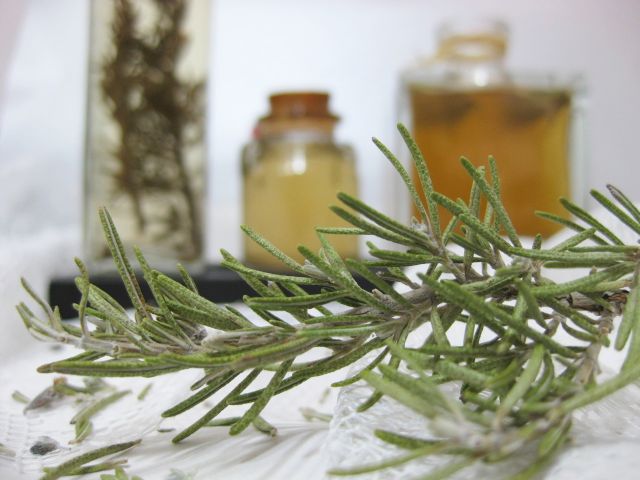
If you want a hair tonic that is just as effective for men as it is for women, simply mix these three ingredients: rosemary, caffeine and mint in ethanol.
AN EXAMPLE OF A HAIR TONIC RECIPE
In a 100 ml glass container, mix:
60 ml of rosemary alcohol. We can prepare this ourselves by macerating dried rosemary in ethanol for a few weeks. Or we can buy it ready-made at the chemist’s.
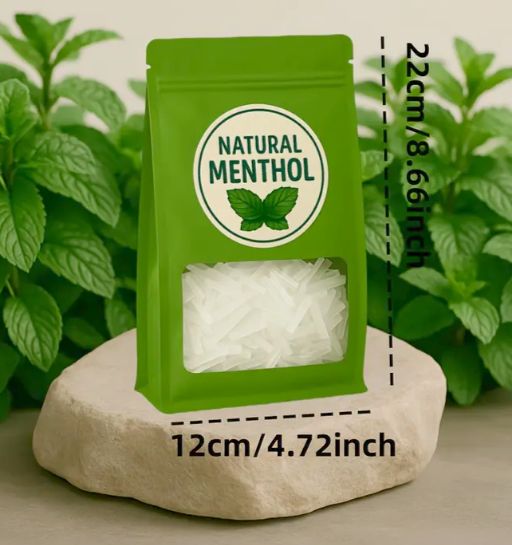
40 ml of distilled water, in which we will have previously dissolved 1 teaspoon of menthol in a bain-marie and 1 teaspoon of natural coffee. (It is also possible to use 1 gram of cosmetic caffeine powder if we do not want the tonic to be brown in colour).
Mix everything together, and your anti-hair loss hair tonic is ready.
Apply it by rubbing it into the scalp after washing.
Discover more from Naturamatters blog
Subscribe to get the latest posts sent to your email.
